Finally! After living on my own for over five months, I finally put up my gallery wall! It's been such a labor of love and an exercise in capturing what I really want, but I am so thrilled with the final product. Ready?!

Pardon the glare...I was enjoying yesterday's extra sunshine and gorgeous weather with my windows open! I'm very pleased with how it turned out...I think the variety of textures, frame colors, and content is perfect and really captures exactly where I am in life right now in a uniquely Lizzie way.

I'm super nitpicky about spacing, levels, and layout when it comes to gallery walls...I've had one in each apartment I've lived in now! This is by far my largest and most varied, though, so I agonized over how to make sure I had a layout I liked and didn't end up frustrated with a hammer and a million nail holes in my wall before I ended up somewhere good.
Here's my foolproof, cheat-sheet way to get a perfect gallery wall with minimum rearranging on the wall!

First, I got scissor-happy with a roll of kraft paper (I found mine at Office Max) and each of the pieces I wanted on my wall.
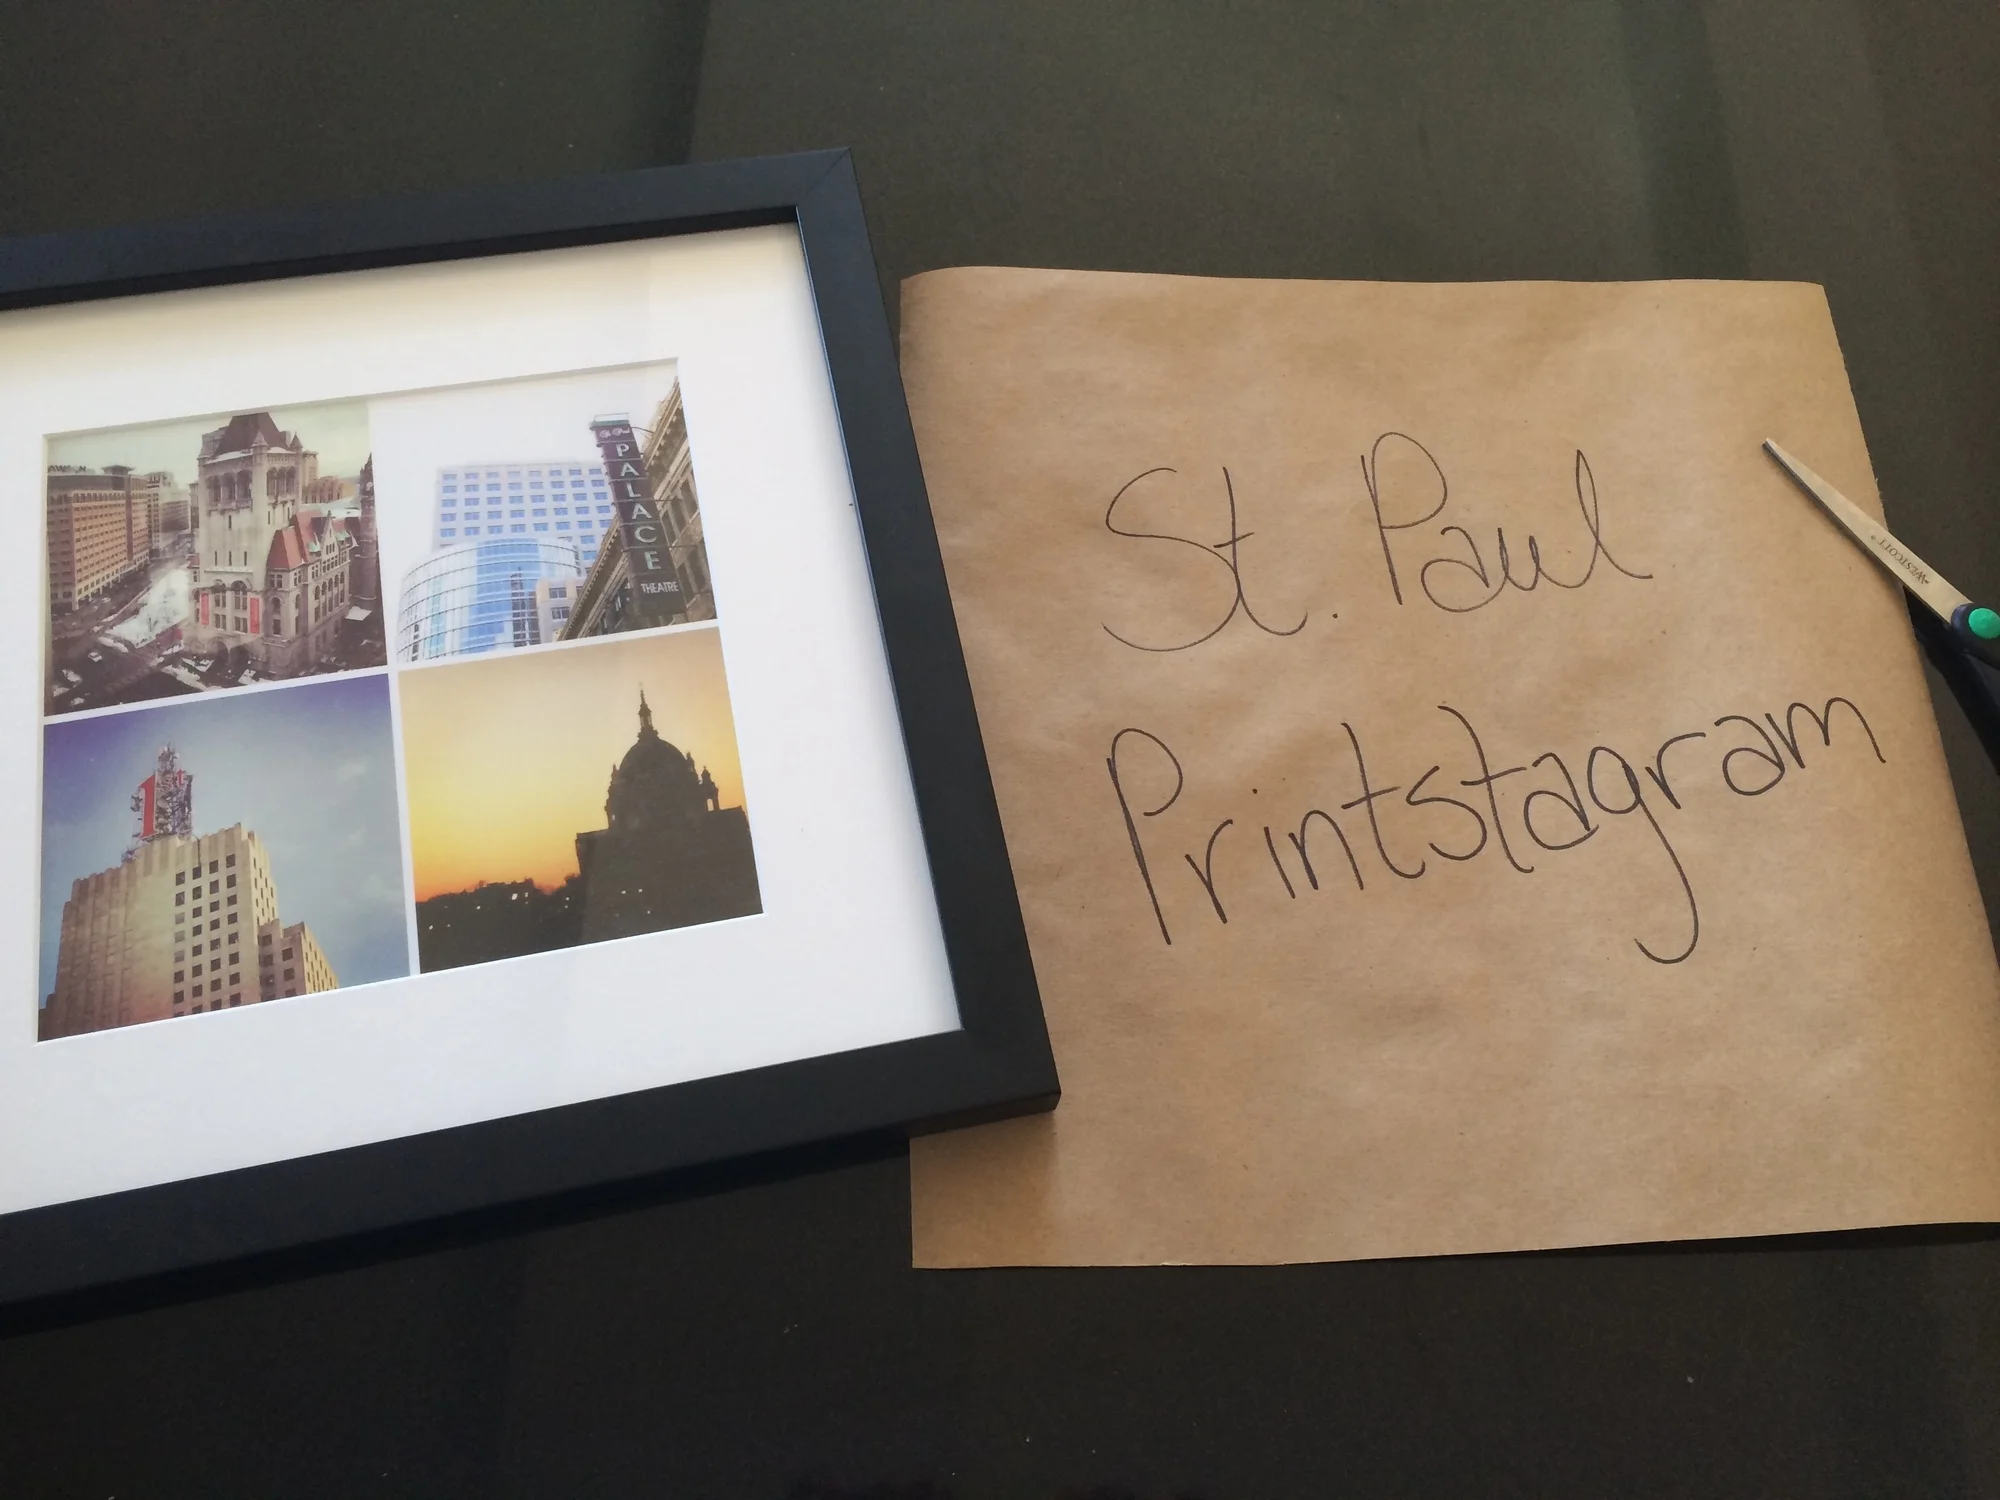
Using the scissors (and later, a straight razor on tougher pieces), I cut a kraft paper template of each piece and labeled it so I had a flexible layout I could play with. I had initially planned on using leftover paper grocery/Target bags, but enough of my pieces were too wide or long to make that work. The kraft paper was super cheap, and it'll make cute shabby-chic wrapping paper (or I could aspire to greatness like Em's Christmas wrapping! Right....).

Once I had them all cut out, I laid them out on my bed and put something weighty on each of them to let them flatten out (while I went to the gym). This step proooobably wasn't necessary, in hindsight...but it did make it a lot easier to work with the cutouts later!
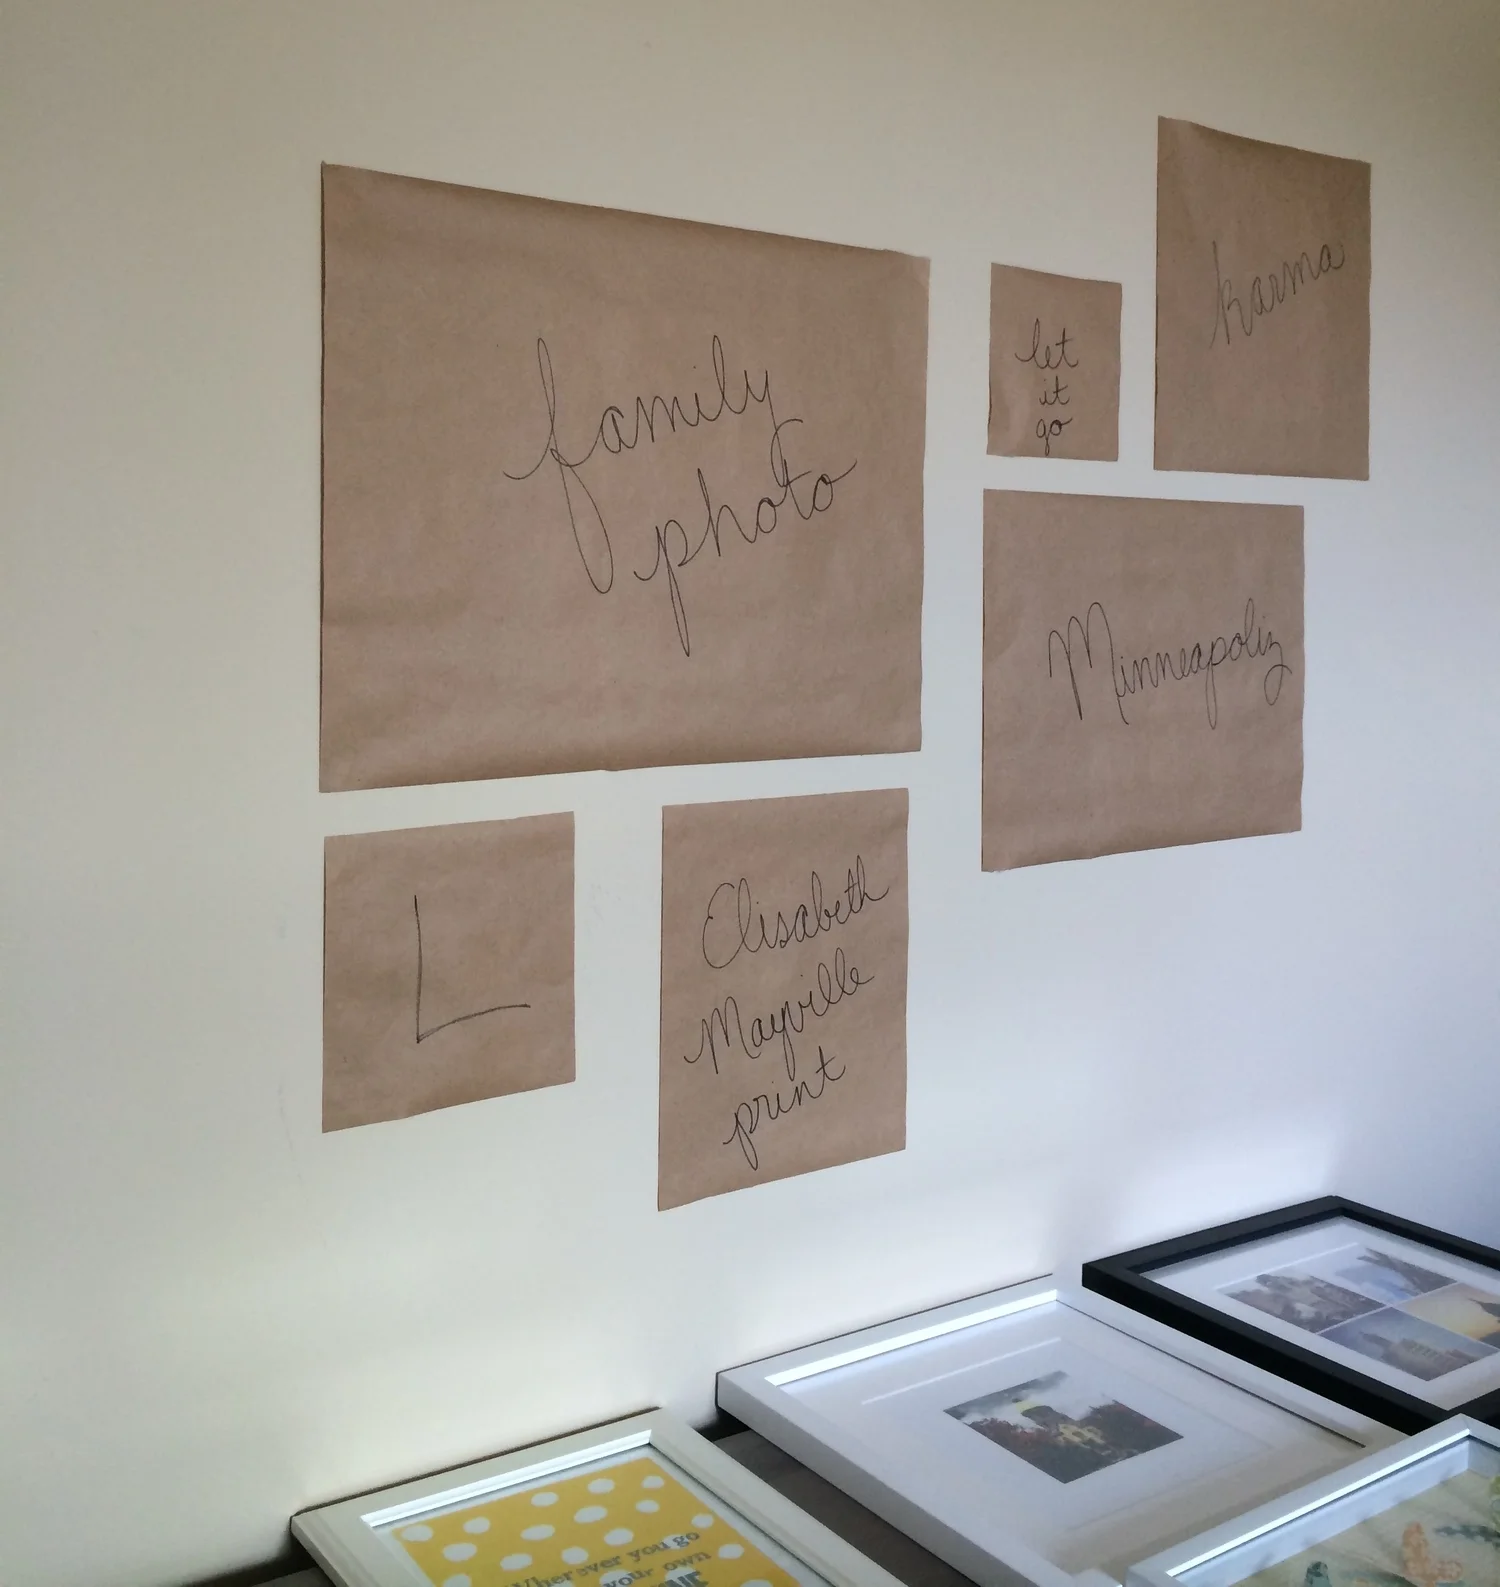
Once I finished up and was ready to play with the layout, blocking things out on the wall was as easy as putting tape on the back of each cutout and sticking them up on the wall. This was a great way to visualize spacing and work out height...I know I'm not the only one who's hammered a nail into the wall only to realize it would leave a print absurdly high or low!

Once I had a piece in a good place on the wall, I headed back out to my living room and mimicked the layout on the wall with the actual art on the floor. Another great way to check that I wasn't putting a bunch of similar pieces, or a ton of matching frames, close together.
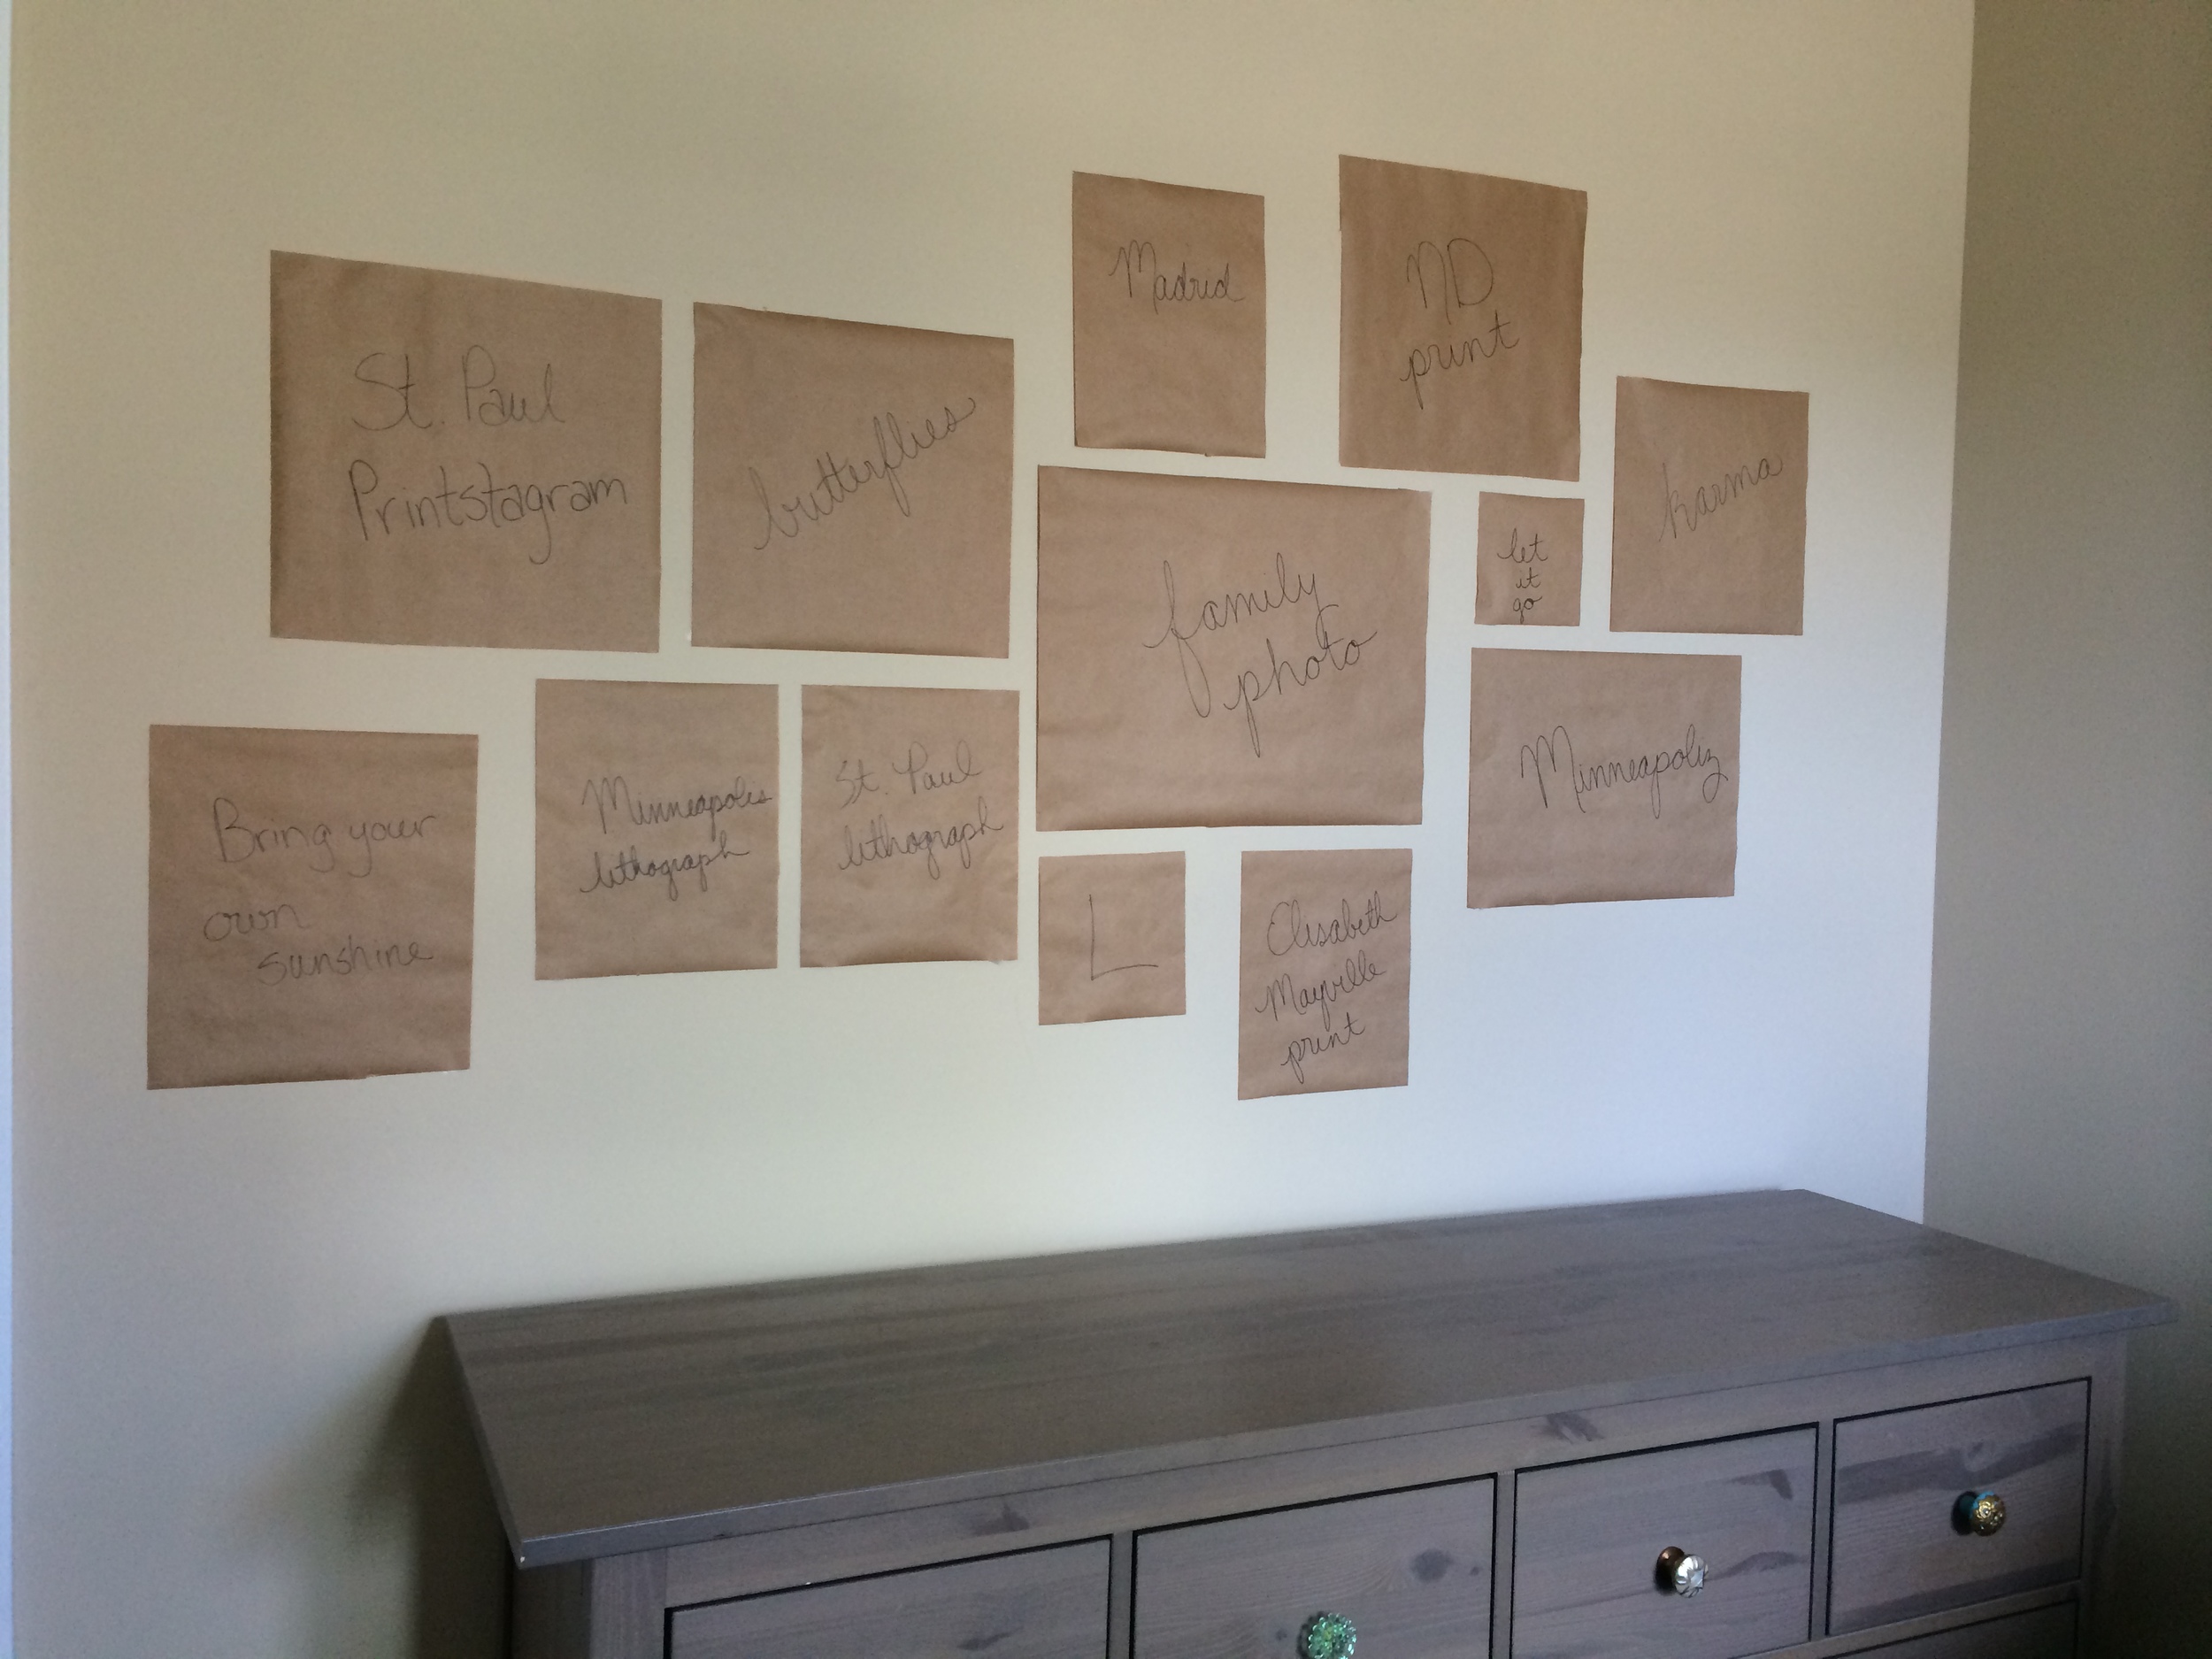
Ultimately, I ended up with a wall that looked like this...
And a floor that looked like this...

And then I called in the big guns. And by the big guns, I mean an actual guy with an actual hammer (because apparently I don't have a hammer? Come on). Stu was kind enough to hang fifteen frames for me in exchange for a gin and tonic and a happy hour once we finished...as well as my undying gratitude. According to him, the kraft paper block-out on the wall actually was helpful, so I'll chalk that one up as a win in my book!
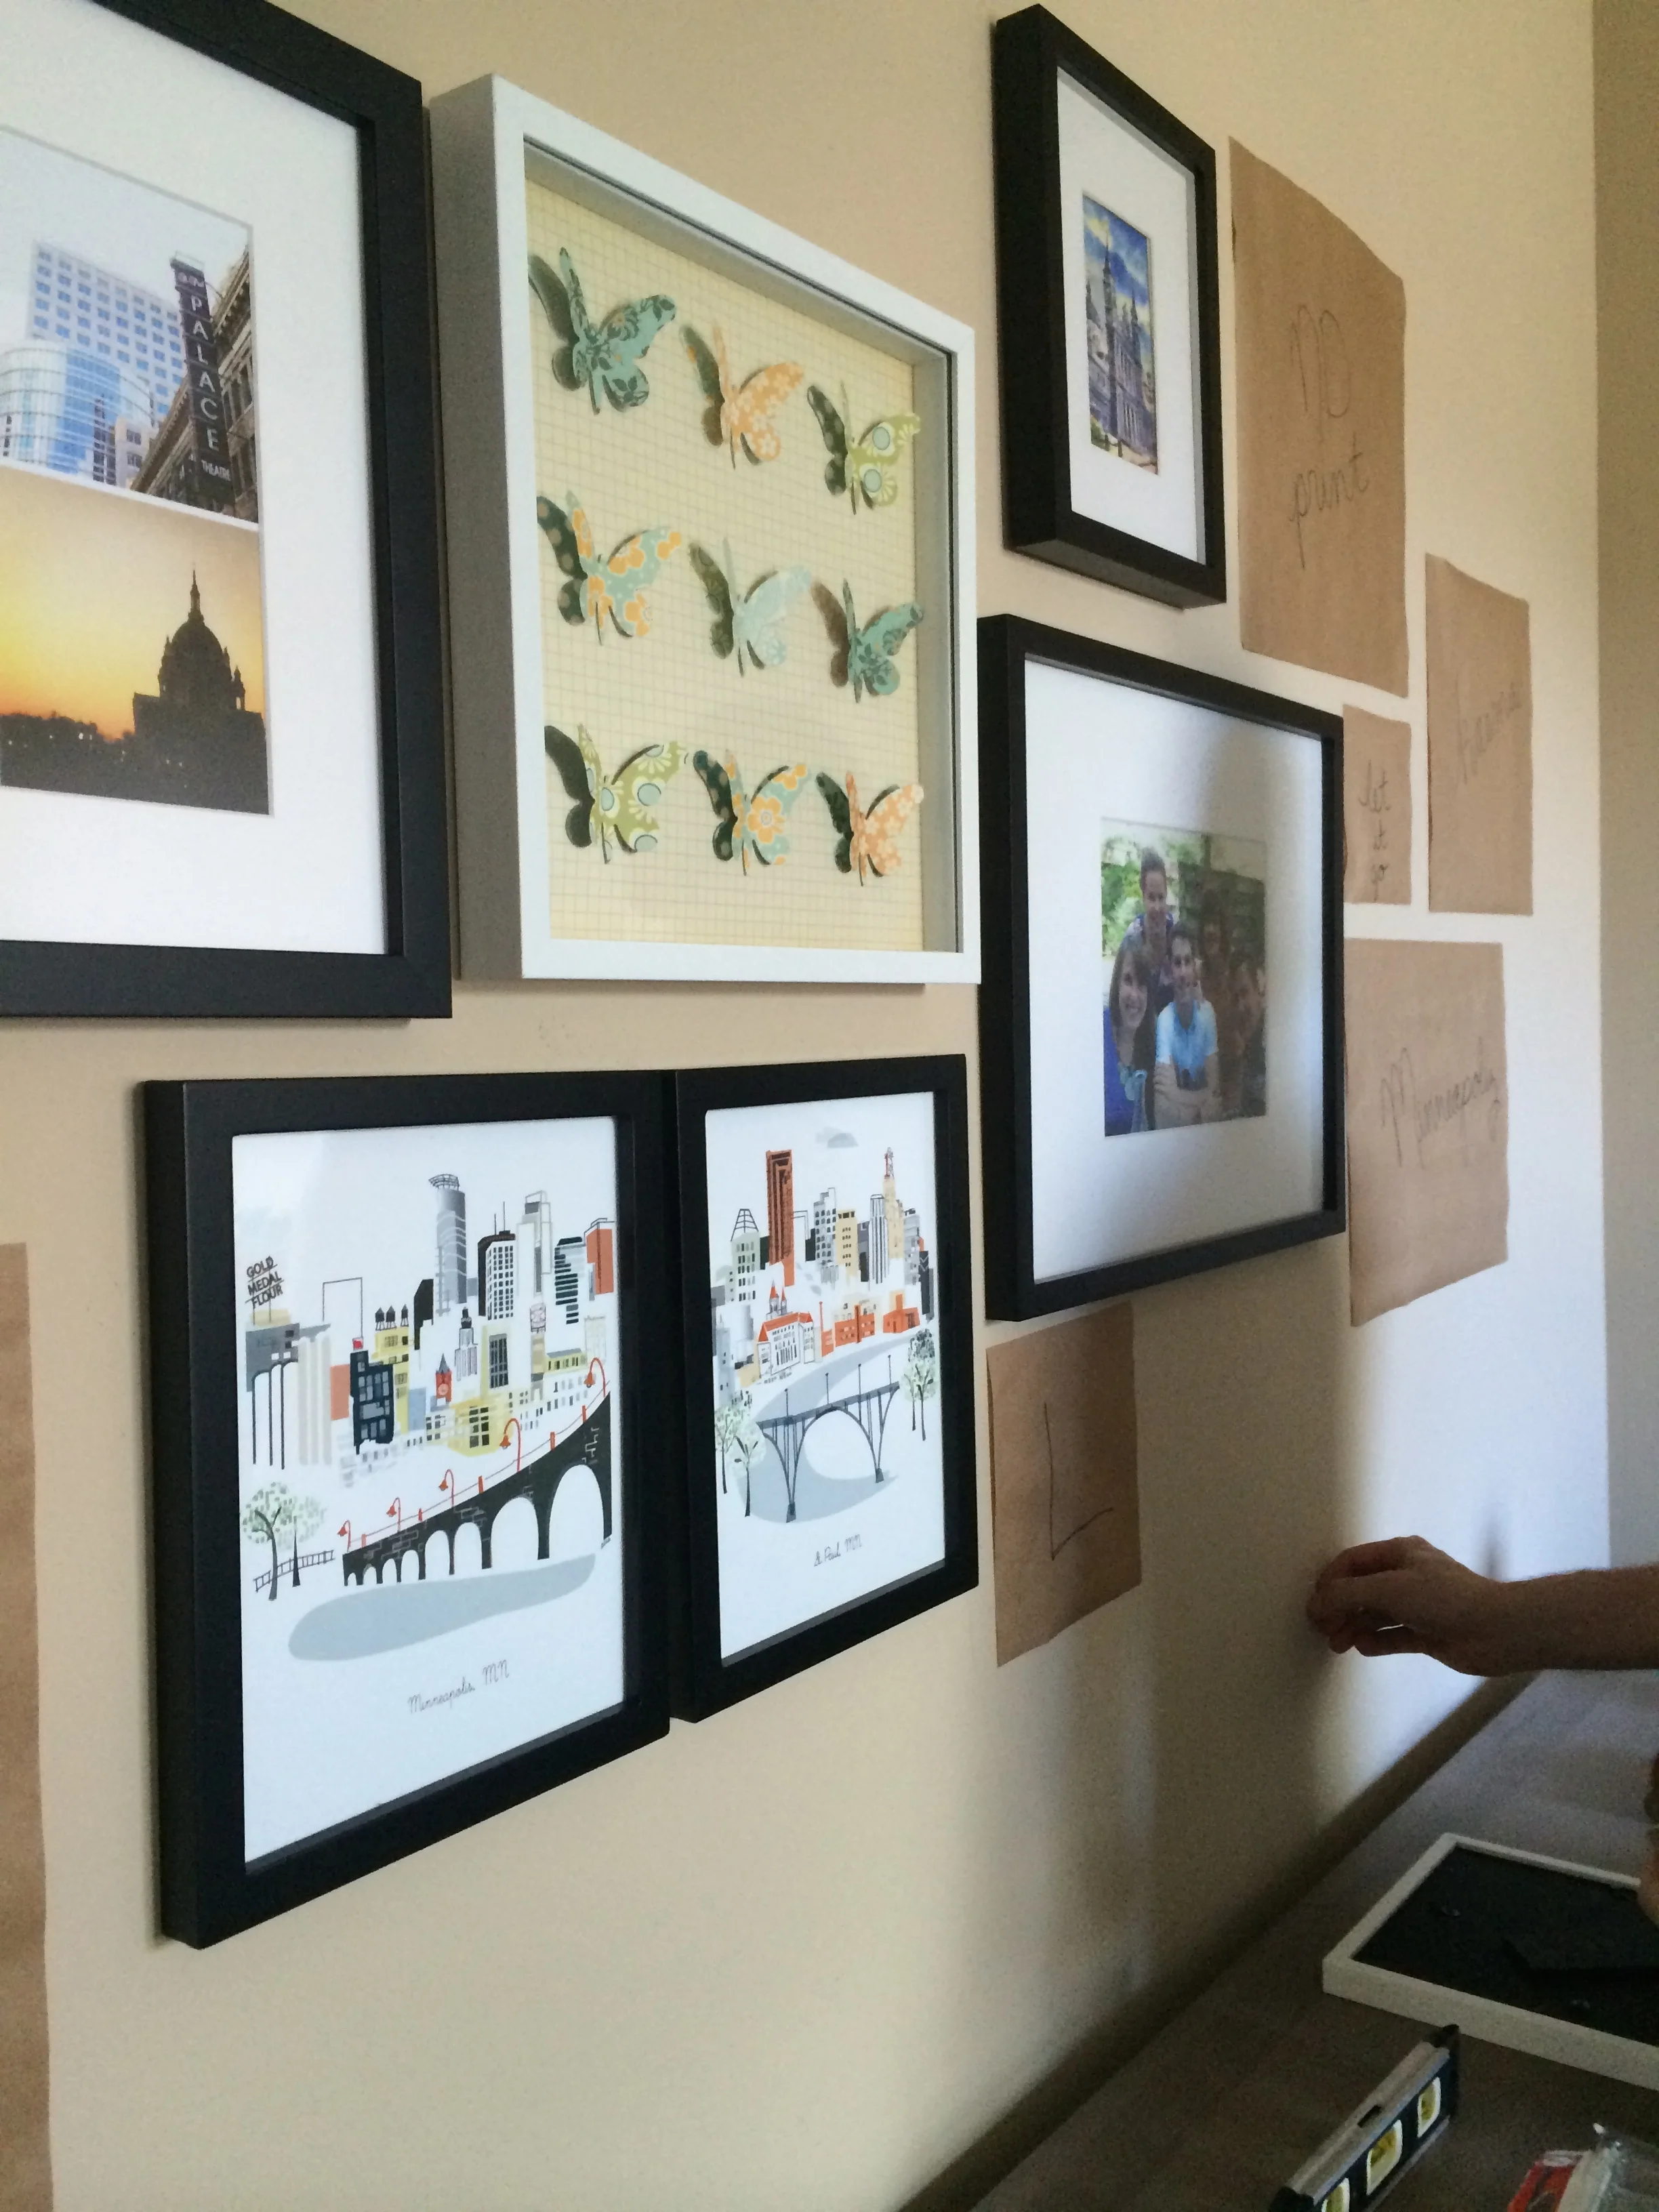
It only took an hour to get everything put up...and after a detour to the hardware store to get a few picture hangers, I ended up with this gorgeous finished product!

I'm a little bit enchanted with it. Nothing feels lovelier than having a home that feels personal in every way, and I love that I finally have my wall done and ready to go! Now all it needs is perhaps jusqu'un petite piece of art from Paris!